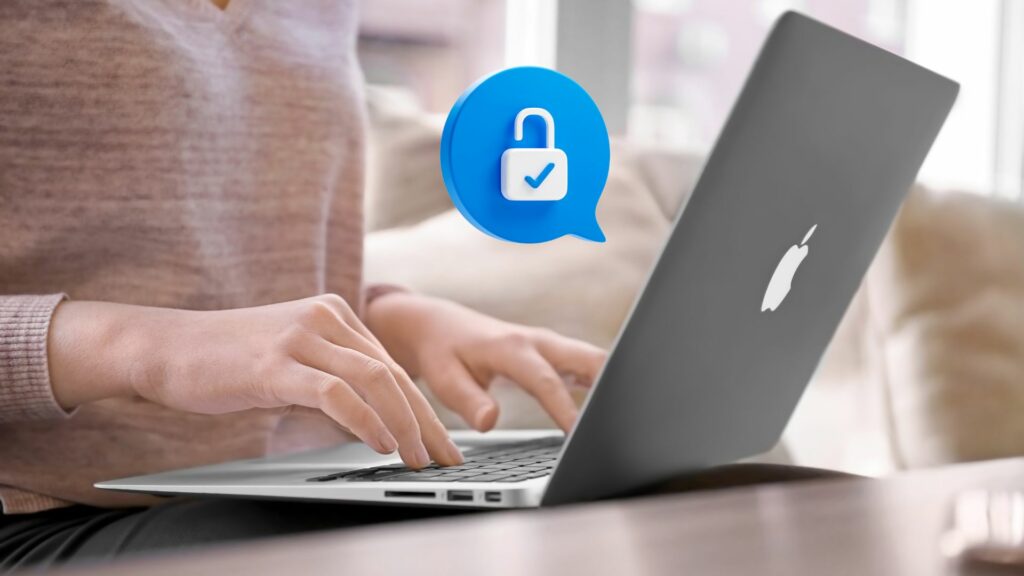
If you’ve forgotten your MacBook M1’s login password or don’t have access to the Apple ID it’s linked to, it can be frustrating trying to get into your device. Thankfully, there are a few methods you can use to unlock a password protected MacBook Air or Pro with M1 chip without needing the password or Apple ID. These options do not require any paid third-party software or questionable hacks.
In this guide, we’ll outline step-by-step instructions for four proven ways to bypass a MacBook M1’s login screen, either by resetting passwords, using recovery options, or enabling guest user access. Each method has its own pros and cons which we’ll explain as well. By the end, you’ll have the knowledge to get back into your MacBook if you ever lose access.
Prerequisites
Before diving into the step-by-step instructions for each method, let’s first cover a few prerequisites and key information that apply broadly when trying to unlock a password protected MacBook Air or Pro:
- Physical Access Is Required – In order to use any of these password bypass methods, you’ll need physical access to your MacBook. They cannot be done remotely.
- Backup Important Data – If possible, be sure to backup your important files before attempting these methods. Some may result in data loss if not careful.
- Check Find My Status – Make sure Find My Mac is turned off on your device. Most methods will not work if Find My is enabled since it locks device access.
- Understand Security Risks – Using these methods means bypassing standard login protections, which presents security tradeoffs to consider. Make sure you re-enable protections after regaining access.
With those prerequisites covered, let’s look at four effective ways to unlock a MacBook M1.
Method 1: Reset MacBook Password With Apple ID
If you have access to the Apple ID originally associated with your locked MacBook M1, you can easily use Apple’s built-in password reset option. Here are the steps:
- On login screen, click the ? icon in bottom left corner and select “Reset it using your Apple ID”.
- Enter Apple ID and password when prompted. This will bring up the Password Reset menu.
- Choose to reset your account password, set a new one, and click Next. Temporary access will be granted.
- Once logged in, go to System Preferences > “Users & Groups” to change password again if desired.
The main benefits of using this first method is that it instantly resets your account password without deleting any data or making major software changes. It’s by far the simplest and safest option if you know your Apple ID login. The only catch is that you’ll be temporarily stuck at the temporary password until resetting again from in macOS.
Method 2: Reinstall macOS From Recovery
If you don’t have access to the Apple ID, the next best approach is to boot into macOS Recovery Mode and fully reinstall the MacBook’s operating system. Here is the full process:
- Start with MacBook powered off, then turn it on and immediately press/hold Command + R keys. Keep holding until you see the Recovery screen.
- When Recovery options appear, select Reinstall macOS from the Utilities window and click Continue. Follow the instructions to reinstall.
- After installation is complete, you’ll be walked through the standard account creation process. Set a new admin account and password.
- Log into your user account once it finishes. You’ll have a clean OS while keeping the MacBook M1 hardware access in tact.
While more complex, the upside of reinstalling macOS is that it deletes all old accounts along with their passwords, allowing you to set up the device like new. This bypasses login without needing the Apple ID. Just keep in mind that data loss can occur, so back up first if possible.
Method 3: Unlock Via Single User Mode
Using Single User Mode – a stripped down terminal-only version of macOS – you can reset account passwords without fully reinstalling. Here are the steps involved:
- With your MacBook turned off, turn it back on and immediately press/hold Command + S keys together.
- Keep holding Command + S until black screen with white text appears. This is Single User Mode.
- Carefully type following when prompted: /sbin/mount -uw /
- Next type: rm /var/db/.AppleSetupDone
- Finally enter reboot command to restart MacBook from single user back into standard macOS.
- It will automatically boot to account setup. From here you can create a new admin account and password.
While more technical overall, Single User Mode offers the ability to reset your account and password without having to fully reinstall macOS. So you can regain access while maintaining your data and setup. Just be extremely careful when entering those filesystem commands in Step 3 and 4.
Method 4: Enable Guest User Account Access
If none of the previous methods have worked, a final option is to login through the Guest account – an alternative macOS user account with limited access. Here is what to do:
- Start with your MacBook powered off, then power back on and immediately press/hold Shift + Option + Command + R all together.
- Keep holding keys until you see the macOS Utilities window popup after a minute or two.
- When utilities load, select Utilities > Terminal from the top Menu Bar. In the terminal, carefully run this full command: sudo chmod o+rwx /var/db/dslocal/nodes/Default/users/*.plist
- Close Terminal after running this, then go to Apple Menu > Log Out. At login screen, select Guest User to login to a limited but accessible Guest account.
The main downside to this method is that Guest accounts have very limited functionality being essentially demo accounts. However, it does reliably provide access to your locked down device without deleting everything or changing critical software. Still use extreme care when running that terminal command to avoid issues down the road.
Closing Recommendations
Hopefully one of those four methods will successfully unlock your password protected MacBook M1 Pro or Air without losing too much time or sleep. Just match whatever option best fits your situation in terms of Apple ID access or willingness to reinstall macOS.
Above all, always remember to re-enable a strong password, enable encryption, and set your MacBook to automatically lock after a period of inactivity. Leaving an unlocked laptop accessible is opening the door for device theft or credential compromises via physical access. So your data and accounts could still remain at risk even if unlocking the device itself.
Take the appropriate precautions going forward and don’t let a lost password put your sensitive data and privacy at risk for good. Your MacBook contains far too much of your digital life for that. Stay secure!
Frequently Asked Questions (FAQ)
You have a few options, like reinstalling macOS or using Recovery Mode, to reset passwords and regain access.
Possibly yes. So backup important data first if you can. Reinstalling the OS often wipes data.
Most solutions don’t strictly require internet access. But some may need connectivity to get the latest macOS version or reach Apple servers.
If your Mac won’t startup at all, use another working Mac to create macOS install media on a USB/DVD. Boot from that on the locked Mac to access utilities.
No, they likely won’t work if Find My Mac is turned on. It locks device access as an anti-theft measure. Make sure Find My is disabled first.
They are mostly the same. But we focus specifically on M1 MacBook models which have some distinct security measures to be aware of.
Yes, some caution is reasonable. Be sure to carefully reconfigure your settings and re-enable security measures once you regain access.